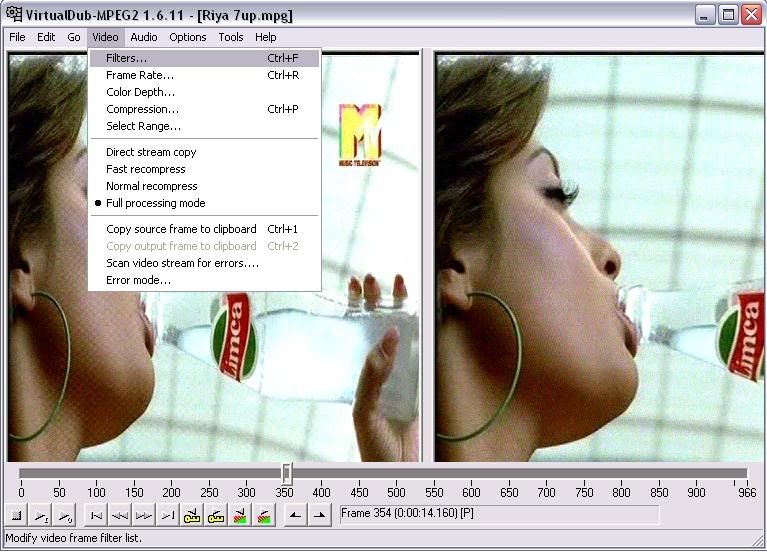
2. See the below pic. You can see the bar... u can capture the images frame by frame here. But wait... we can use VDub features to improve the quality, which we will see in next step.

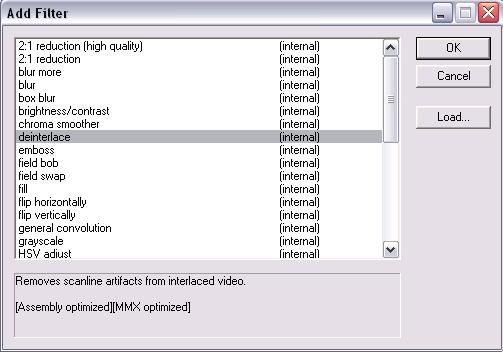
3. GO to Video > Filter > Select Deinterlace Filter > select Blend Fields together [best] option.
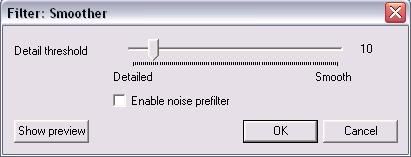
4. Again goto Video > Filter > select smoother > keep value as 10 or as per ur preference ;).
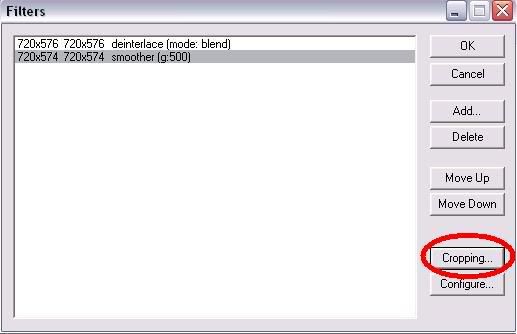
5. You can also crop unnecessary areas in the frame with the "cropping" option shown in the below pic.
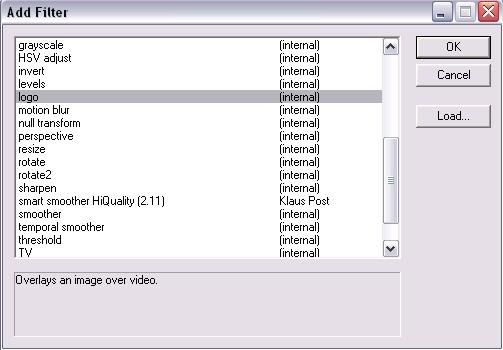
6. If u wish to watermark ur caps / video, then there is a logo option in the filters list.
7. Now u r done with settings for making caps... u can copy the output source to clipboard and save with either paint or using photoshop ;).

Improving quality of caps in Photoshop (CS2) :
If you have taken snapshot from TV Tuner then u can directly open that in photoshop or if u r using VDUB then copy the output source clipboard and paste in photoshop.
1. Open image in photoshop. Select Filter > Noise > Dust & Scratches > Input 2 to both Radius & Threshold then press OK.
2. Again Select Filter > Noise > Reduce Noise > Enable Preview > Select Basic > Settings-Default > Strength-5 > Preserve Details-11, Reduce Color Noise-74, Sharpen Details-21. Dont forgtet to Enable Remove JPEG Artifact ;). Press OK.
All the Process is complete now.
You can alter the values according to your satisfaction.
No comments:
Post a Comment